Choose ODBC as the Accounting System.
Once all the fields are filled in, a 'Save Registration' button will appear. Click this.
A confirmation code is sent to the Administrator's email address entered into the Registration details form. You will need this registration code to proceed past the next screen.
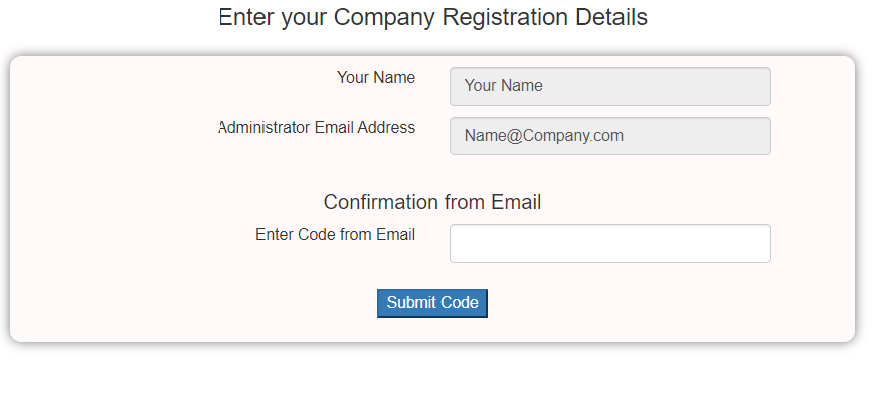
When you key in the code from the email and click the Submit Code button, the new company will go through the setup process. An email will be sent to the Administrator's email address with all the necessary registration details. The email will appear similar to the following:
Be sure to keep this email for future reference.
Step TWO. Install the SWOT Upload Utility
For the data to be sent to SWOT from your in-house accounting system, we must install a data-transfer utility on the server that has access to the data from your accounting system 24/7.
This software can be downloaded from this link.
Install the software with Administrator rights to the default places suggested by the installer.
In the installation directory is a file 'default.xml'. This file is key to the operation of the upload and contains the details of your data connection. There are also several example xml files in this directory. The default.xml file can be altered using a text editor like Notepad or Notepad++.
     <SWOT>
             <ExportProcess>
                 <Stage>1.0</Stage>
                 <Type>Rest</Type>
                 <Command>http://customerswot.com/api/SWOT/</Command>
                 <Comments>Command:RESTSERVER URL Para1 = Token String Para2 = Import Type/ODBC/ADO/TEXTDSN Para3 = DSN Name or Text ConnectionString</Comments>
                 <Parameter1>{Your Token Here}</Parameter1>
                 <Parameter2>{ODBC or ADO or TEXTDSN}</Parameter2>
                 <Parameter3>{Your ODBC DSN or TEXT DSN here}</Parameter3>
                 <Parameter4></Parameter4>
             </ExportProcess>
     </SWOT>
The three lines that need to be changed are Parameter1, Parameter2 and Parameter3. Do not change the other lines unless advised to do so by Salesmatrix.
- Parameter1 - This is the Company Data Access Token that is in the email sent to the Administrator. Simply cut and paste the token text between the <Parameter1> tags
- Parameter2 - There are 3 options for this Parameter.
- 'ODBC' If your data is ODBC accessible, then simply put ODBC between the Parameter2 tags
- 'ADO' If you use Attache BI or are sure your datasource is ADO then put between the Parameter2 tags
- 'TEXTDSN' If you want to skip using ODBC and use direct connection to the database (e.g. SQL Server) enter TEXTDSN and then enter the Texconnection string in Parameter3
- Parameter3 - Depending on your choice in Parameter2
Step THREE. Edit the rules for data sent to SWOT
The scripts for the data to be uploaded to SWOT are edited online. The link to these select statements is at https://swot.solutions/editscripts.aspx
Enter your Company Data Access Token at the top and load your script. If this is your first time installing Salesmatrix SWOT, this will be blank. If this is the case, choose a stored script from the list. If you need assistance in customising or writing a new script, then please contact Salesmatrix.
You will find more details in the Help topic ODBC Selection statement formats
Be sure to click Save before leaving the form.
Once this is saved, you are ready to test the upload.
Running the test.
If you have followed the instructions, you should have a default.xml in the installation directory along with an executable SM_PREP.exe.
SM_PREP.exe can also be run with other datasets and scripts if you make the full path and filename of the XML file you wish to run as a command line extension when starting SM_PREP.exe.
To test the upload, simply run the SM_PREP.exe or click on the SWOTUpdater Icon in the Start Menu. You should see a window open and then a series of steps complete in the top right hand corner.
Open up the SWOT app, login using the name and password given in the registration email, and you should see your customers and products inserted into SWOT.
If you see errors as the update processes, or it finishes in less than a second, there is a log file created in the current temporary directory (%temp%) which details the steps run and any errors. The logfile name is in the format 'SWOTUpdate_ddmmyyyyttttt.log
Step FOUR. Automating the Upload
Use Task scheduler to automate this upload. Usually once every day is sufficient for most business, but if you want more up to date data, you can schedule the update more often.
Open Task Scheduler on the server where the SWOTUpdater software is and set up a basic task.
Set the trigger to daily and a time that is outside of normal business hours.
If you are not using the default.xml file, then add the fullpath and filename to the 'Add arguments' entry box.
Make sure that the scheduled task is set to run whether the user is logged in or not. You will need to key in the users password in order to save the scheduled task.